If you are studying Home Assistant and see everyone talking about Raspberry Pi, NUC, NAS, x86, virtual machine...all the terms make you confused, then congratulations, you are in the right place!
After trying Home Assistant Green myself, I can say that this is the easiest way to set up Home Assistant! Because there is no so-called "setup" at all, you just need to plug in the cable, wait, create an account, and you can start using it! It’s almost the same as most off-the-shelf cloud hub systems (Apple HomeKit, Google Home), but the difference is that Home Assistant runs completely locally to provide higher privacy and more flexible customization functions. Let’s get started! 👏
Table of contents
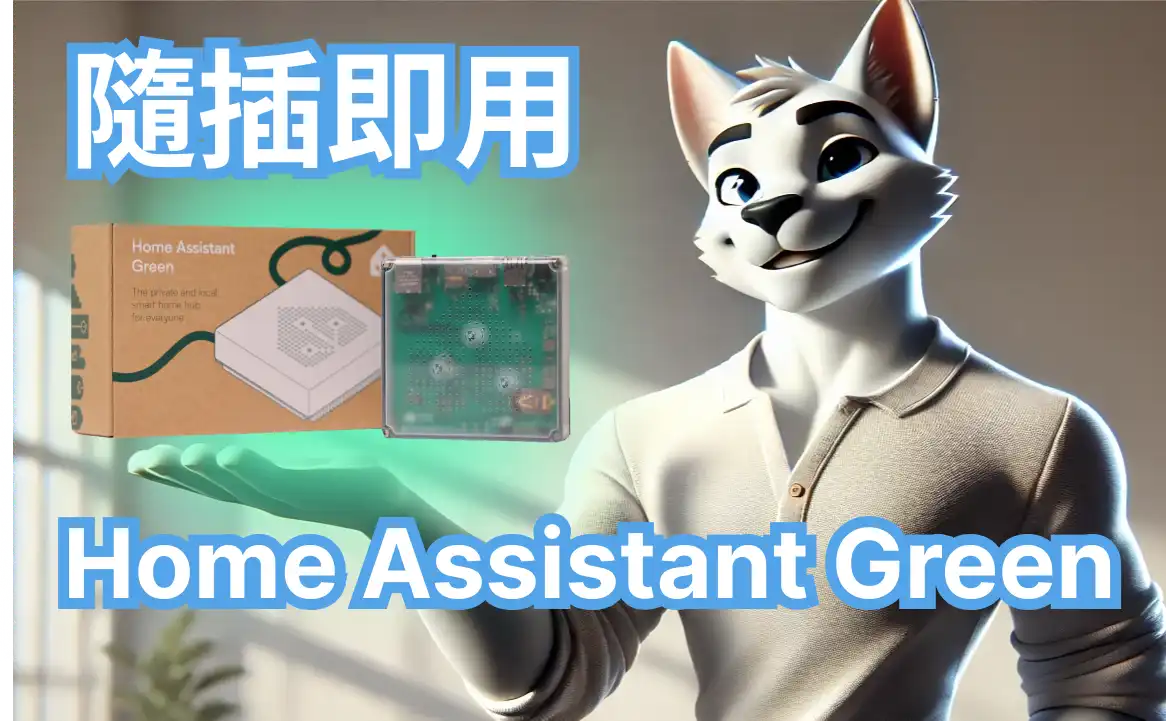
Home Assistant Green Unboxing
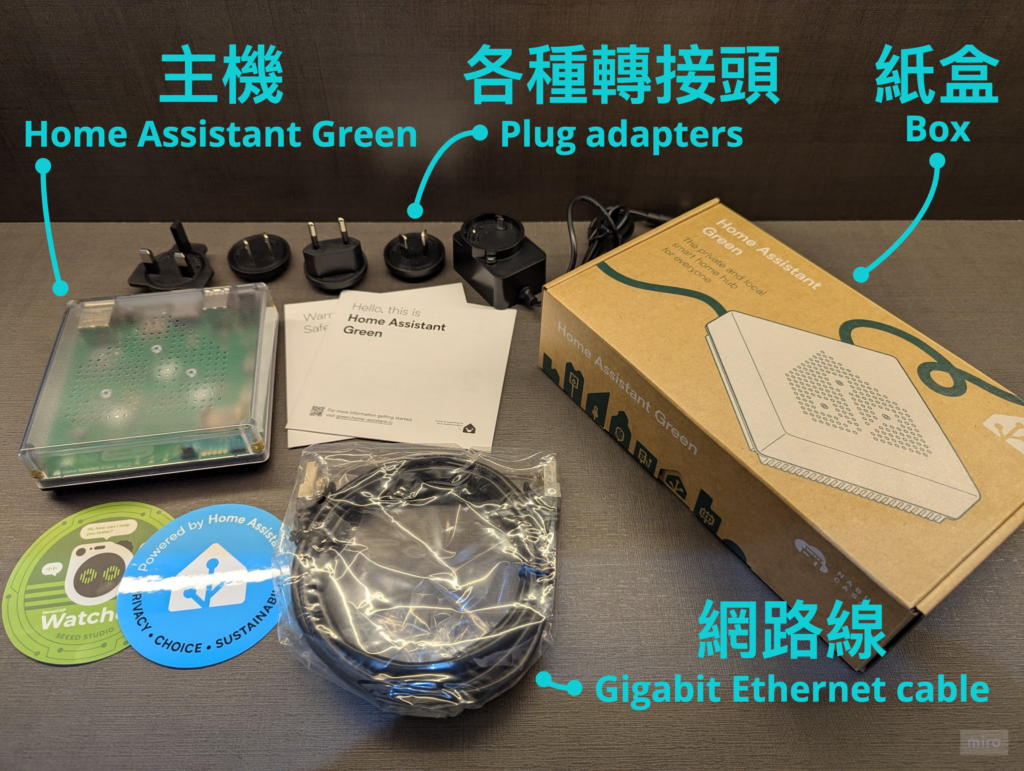
- Carton Box: Normally you don’t pay much attention to the carton when opening a box, but this one is really beautifully made🤣
- Host Home Assistant Green: The appearance is nothing to say, one word is "beautiful".
- Various adaptersPlug adapters
- Gigabit Ethernet cable
size
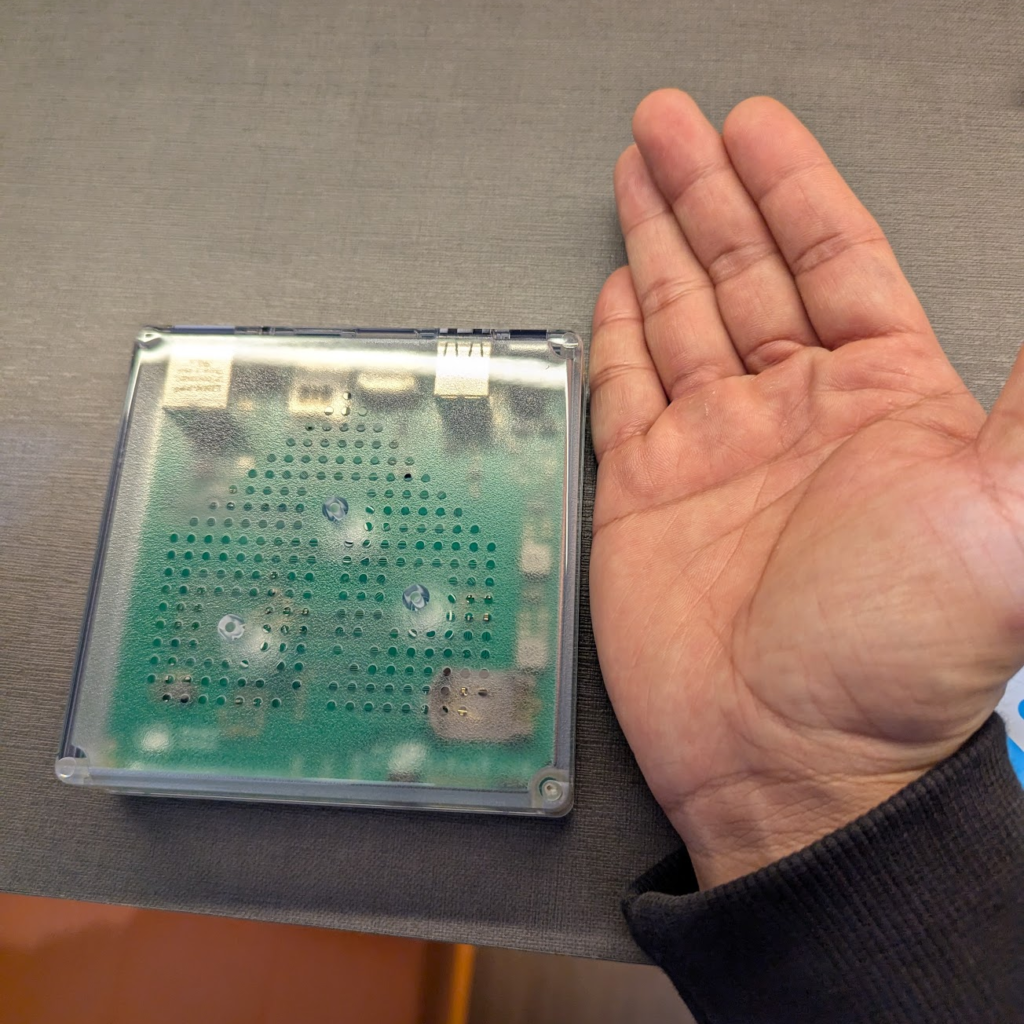
The size of the host is quite small, with a square shape of 11.2 cm and a thickness of 3.2 cm, which is about the size of the palm of an adult male’s hand. When you pick it up, you can feel that the assembly quality is very solid. There is a whole piece of aluminum heat sink at the bottom. Just put the host on Heat dissipation is not a problem in a well-ventilated place 👍
port
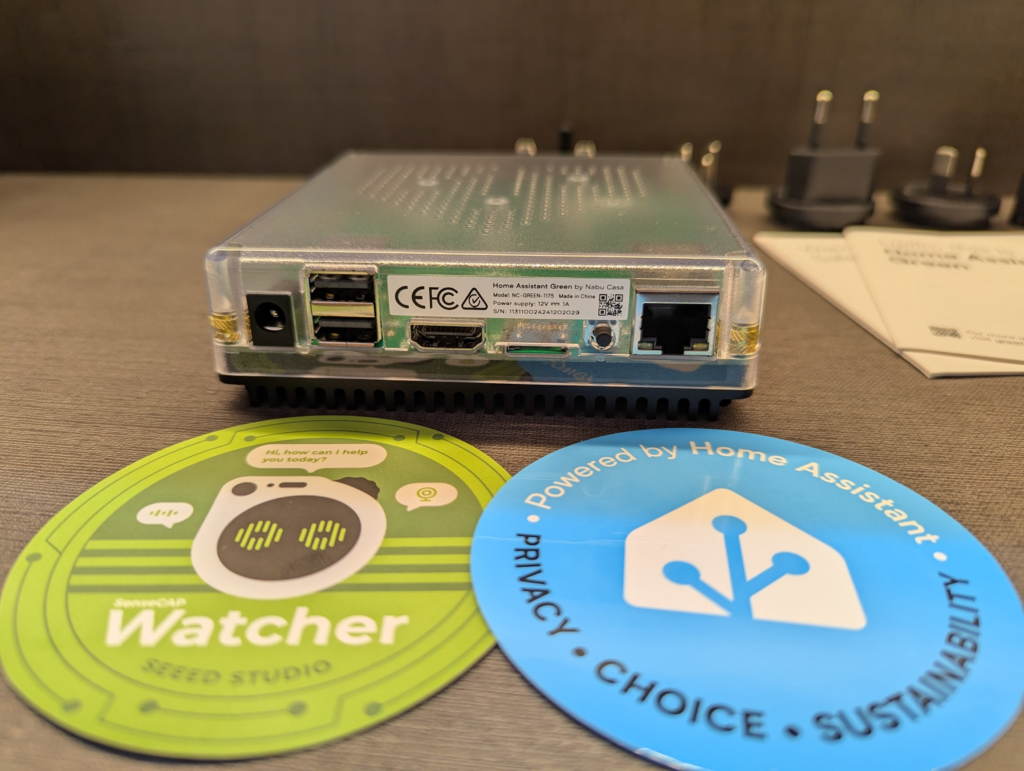
From left to right they are:
- Power socket: special reminder! Never use an unknown power supply. It is safest to use the one provided by the original manufacturer!
- USB 2.0 Type-A ⨉2: Used to connect external devices. The most common use is to connect external gateways or storage devices.
- HDMI: Usually not used.
- Ethernet hole: Connect to a wired network (Home Assistant Green does not support wireless networks).
Step 1. Plug in power and network

After the cable is plugged in, the indicator light will start flashing, indicating that Home Assistant is being installed. The installation time is related to the network environment. The faster the network speed, the faster the installation. After the installation is completed, the yellow indicator light will flash steadily.
Step 2. Home Assistant initial setup
- Open http://homeassistant.local:8123 in your browser
If you see the following screen, it means that Home Assistant is still being installed. The latest version of Home Assistant Core (about 700 MB) will be installed by default. The installation speed depends on your network environment.

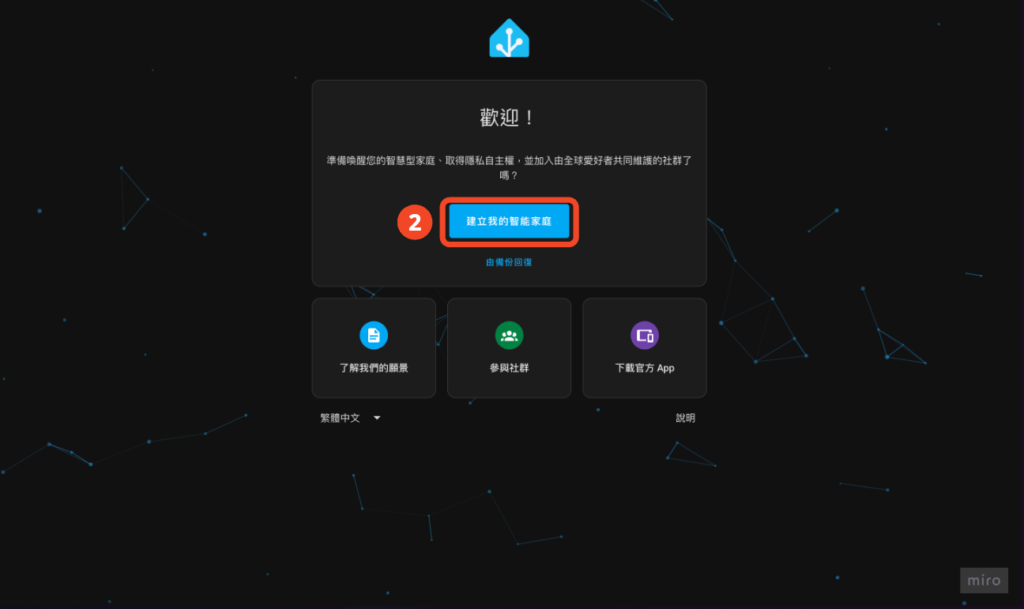
- Click "Build My Smart Home"
There are two options here: "Build my smart home" and "Restore from backup". Today I will focus on introducing how to start from scratch. Friends who already need to use backup and restore should have a certain foundation and can do it by themselves.
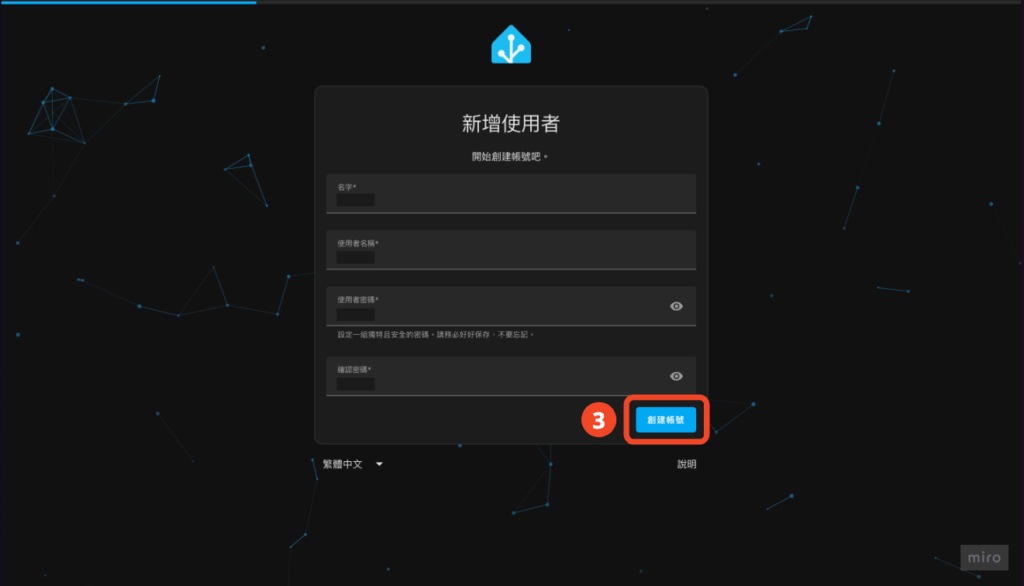
- Add new user
The new user here will be the main administrator of this family. Please set it carefully. It is strongly recommended to set a highly secure password!
Special attention! Please save your login information carefully. If it is lost, there is no other way to retrieve it. However, this also demonstrates the high security of Home Assistant as a fully local-run smart home system.
⚠️ There are two fields that are very similar and may cause confusion. Special reminder:
– Name (Chinese: name) is the name that will be displayed on the interface in the future
– Username (Chinese: user name) is used to log in
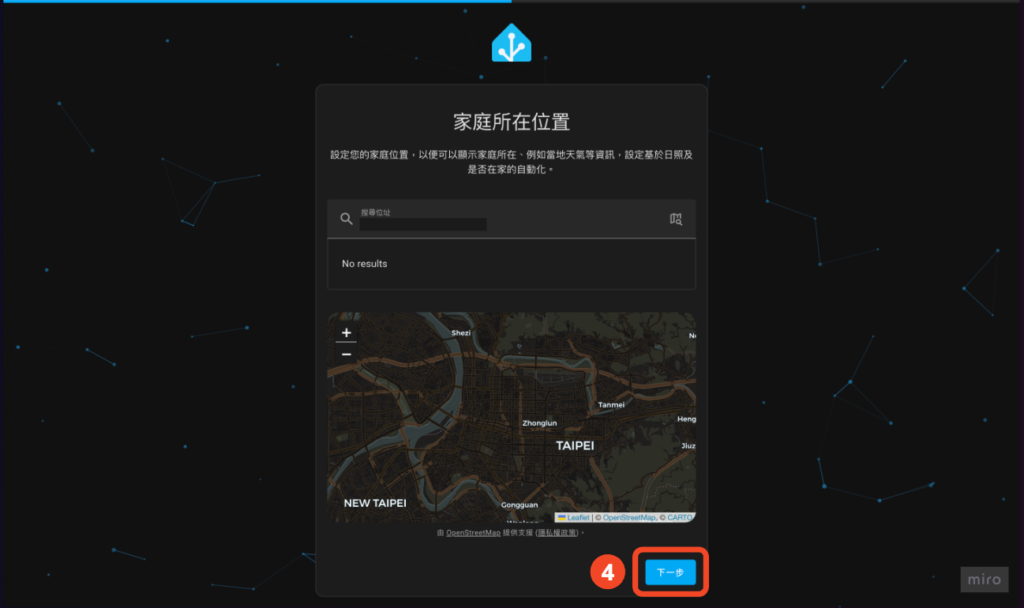
- Set home location
If you don’t want to set it, you can skip it now and update it in the system setting options in the future.
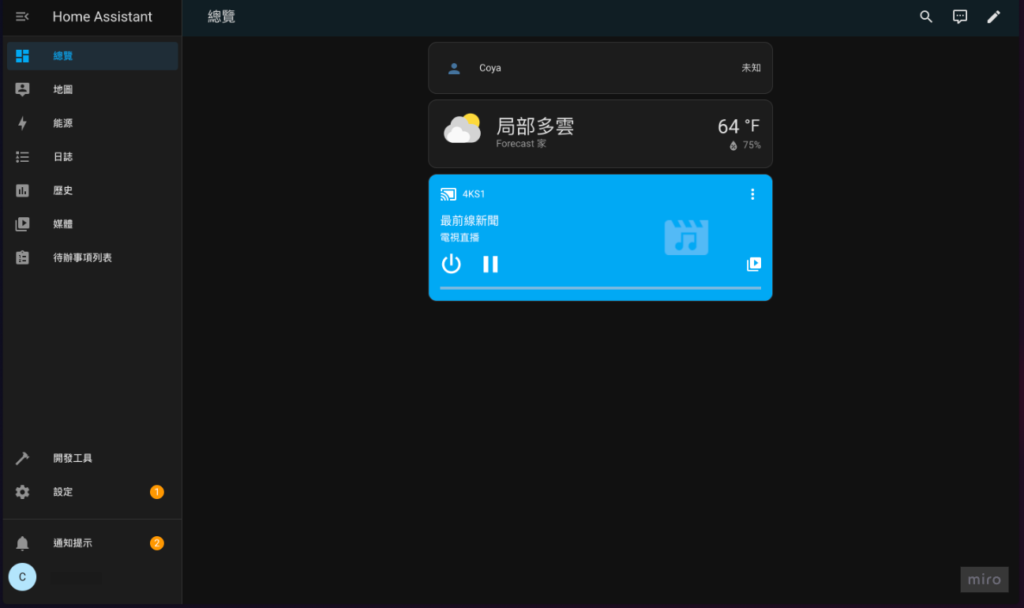
Done!
When you see a screen like the one below, it means that your Home Assistant has been set up! Next, start enjoying your smart home life!
Next, you can continue to improve your smart home. There are several directions you can start trying:
- Use Zigbee2MQTT to connect to smart home devices and get rid of dependence on brand gateways:

- Build your own home automation:


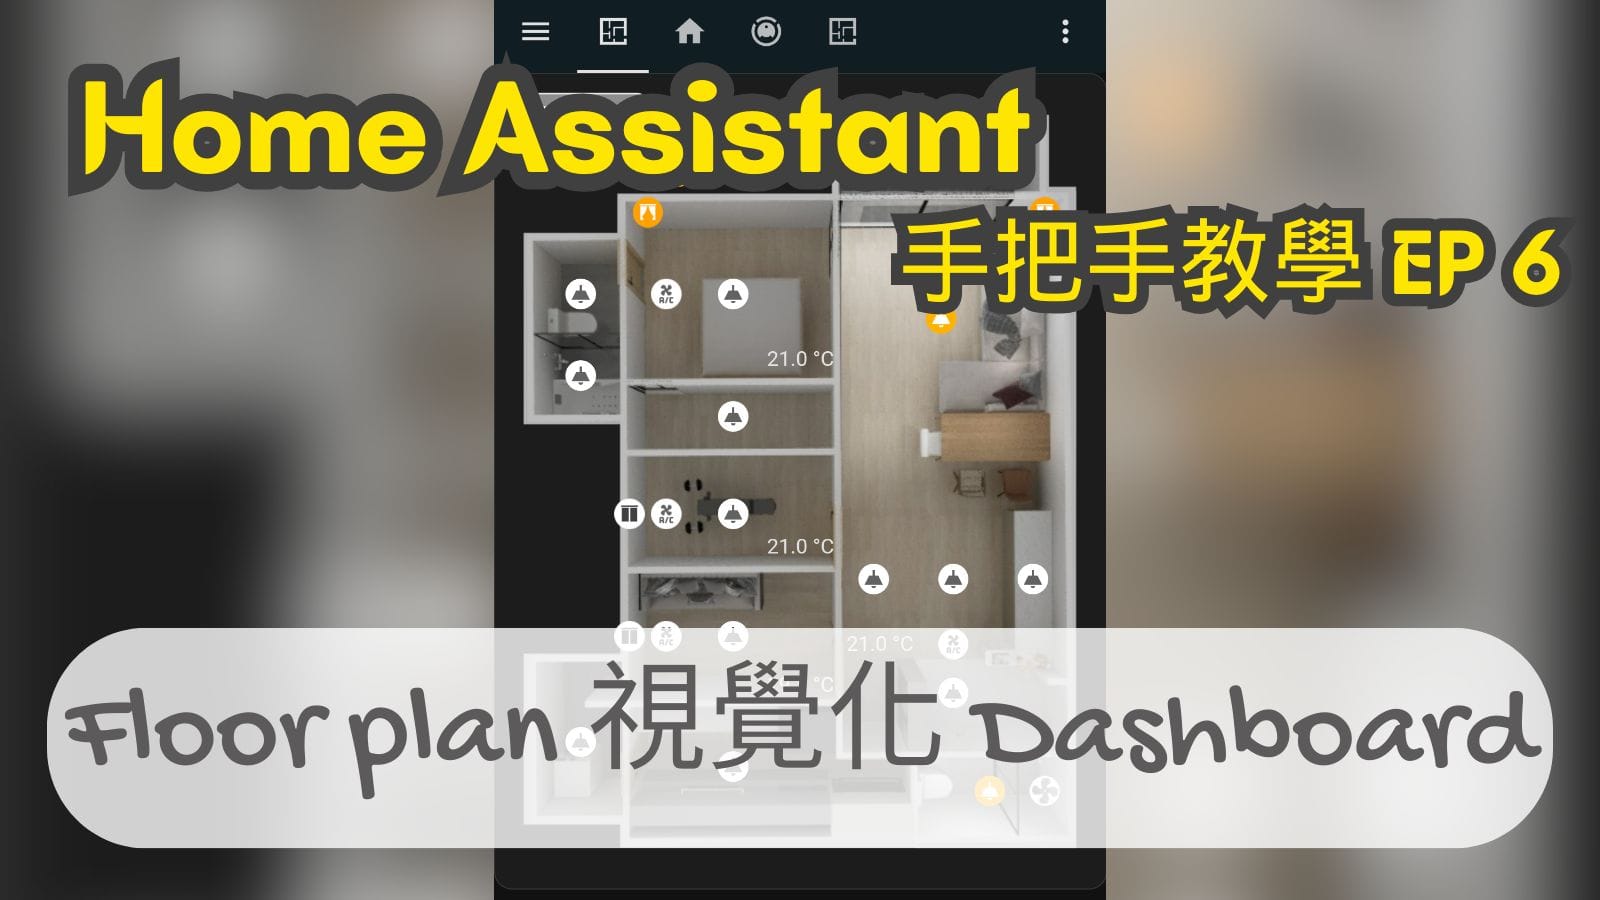
- Want to control your home devices from God’s perspective? Read this:
Thanks Neil for sharing~ I am setting up a new home network recently. Although I may test the waters with Homekit first, I want to ask if there is any restriction on where to connect HA Green to the Internet? Should I connect it directly to the router or behind the Switch?
Hi K,
If the bandwidth is sufficient, then it's almost the same. In theory, the closer to the source, the better. I connect it to the router.
Hi Neil,
Thank you for sharing. It is a great honor to have you as a pioneer and selfless sharer in the journey of building a smart home.
I was inspired after reading your article and wanted to buy Home Assistant Green to play with at home. However, SeeedStudio could not be delivered to Taiwan for some reason.
I hope I can buy it successfully before moving in and set up a smart home well!!!
I wish you, Ashan and your baby all the best and happiness♥
Hi L, you can search on Taobao, it seems there is a seeedstudio official store
Received, thanks for sharing!!! I found it on Taobao, the price seems to be similar to that of seeedstudio
But are the products bought on Taobao the same as the international version? I tried to look up information but couldn't find any relevant instructions. I'm also worried that there might be restrictions if I buy it on Taobao. Does Neil know?
Hi L, as long as it is Home Assistant Green, there is no version difference. Be careful not to buy a strange HA box.
Thanks to Neil for the help
I just got the Home Assistant Green today and have just finished setting it up. I will start researching how to set up my own smart home.
Thank you so much for your selfless sharing. I'm so excited.
Hi L, come on! Welcome to join the smart family 😁
Thank you, Brother Neil. I have been exposed to smart homes since last year and have benefited a lot from your teaching articles. Now I have lived in my new home for half a year and I am very satisfied with the smart home I built.
I wish you a Merry Christmas, a Happy New Year and all the best
Hi Mark, Merry Christmas to you too! I’m glad it helped you 👍
Thank you Neil, you are my mentor on the journey of smart family, you have inspired me many concepts and practices. The festival is approaching, I wish you and Ashan happiness and peace~~
Hi Richard, glad I could help you! Merry Christmas 🎉