Welcome to this article. If you are planning to use Home Assistant to build your own smart home system, then you are in the right place. Today’s guide is tailor-made for you!
When you first come into contact with the topic of smart home and Home Assistant, you will definitely be dazzled by the information on the Internet, such as Raspberry Pi, NUC, NAS, neutral wire, zero fire switch, gateway, router, Zigbee, Matter...everything It’s a proper noun. Even if you crawl through articles or ask people in discussion forums, you still feel like you only know a little about it, right? !
Today’s article is the most complete guide to getting started with Home Assistant, allowing you to get started with Home Assistant. Even if you may not be proficient in all the technical details, you can at least know what you are doing, and at least know how to find the answers to your questions. I hope it can help you In the process of building Home Assistant, avoid detours, avoid pitfalls, and spend less money🤣
Table of contents
What is Home Assistant?
Different from the closed central systems of brands such as Apple HomeKit, Google Home, Amazon Alexa, etc., Home Assistant is a Open Home Foundation The leading open source smart home central system, that is, all program developers who are enthusiastic about Home Assistant can independently optimize and develop Home Assistant, so every timerenewYou can see the optimization of Home Assistant by various experts in .
As an open source smart home central system, Home Assistant can support almost all brands of smart home devices on the market. It is better than ordinary brand central systems (Apple HomeKit, Google Home, Amazon Alexa, etc.) in terms of interface, automation, and context settings. With greater customization flexibility, you can completely customize the exclusive operation interface and automation mechanism according to your usage habits. Whether it is a small family or a large manor, Home Assistant can meet all the needs of your lazy life in a smart home.
Key features of Home Assistant
- Open source: The system function updates are faster and more real-time. It is almost impossible to do what you want by gathering the wisdom of everyone.
- Flexible customization: Can be highly customized according to different usage habits.
- Extensive support: Supports almost all brands and types of smart home devices.
- information security: Home Assistant operates locally, reducing possible security risks from external connections when using cloud services.
Is the Home Assistant interface easy to use? Will it be too geeky?
Because Home Assistant is highly customizable, unlike other central systems that can only rely on system providers, the Home Assistant operating interface can also be completely customized. Whether you want a high-tech feel or want to be the same as HomeKit, you can even Create home floor plan controls.
Home Assistant also officially provides online demos, which can be experienced on desktop and mobile phones:https://demo.home-assistant.io/
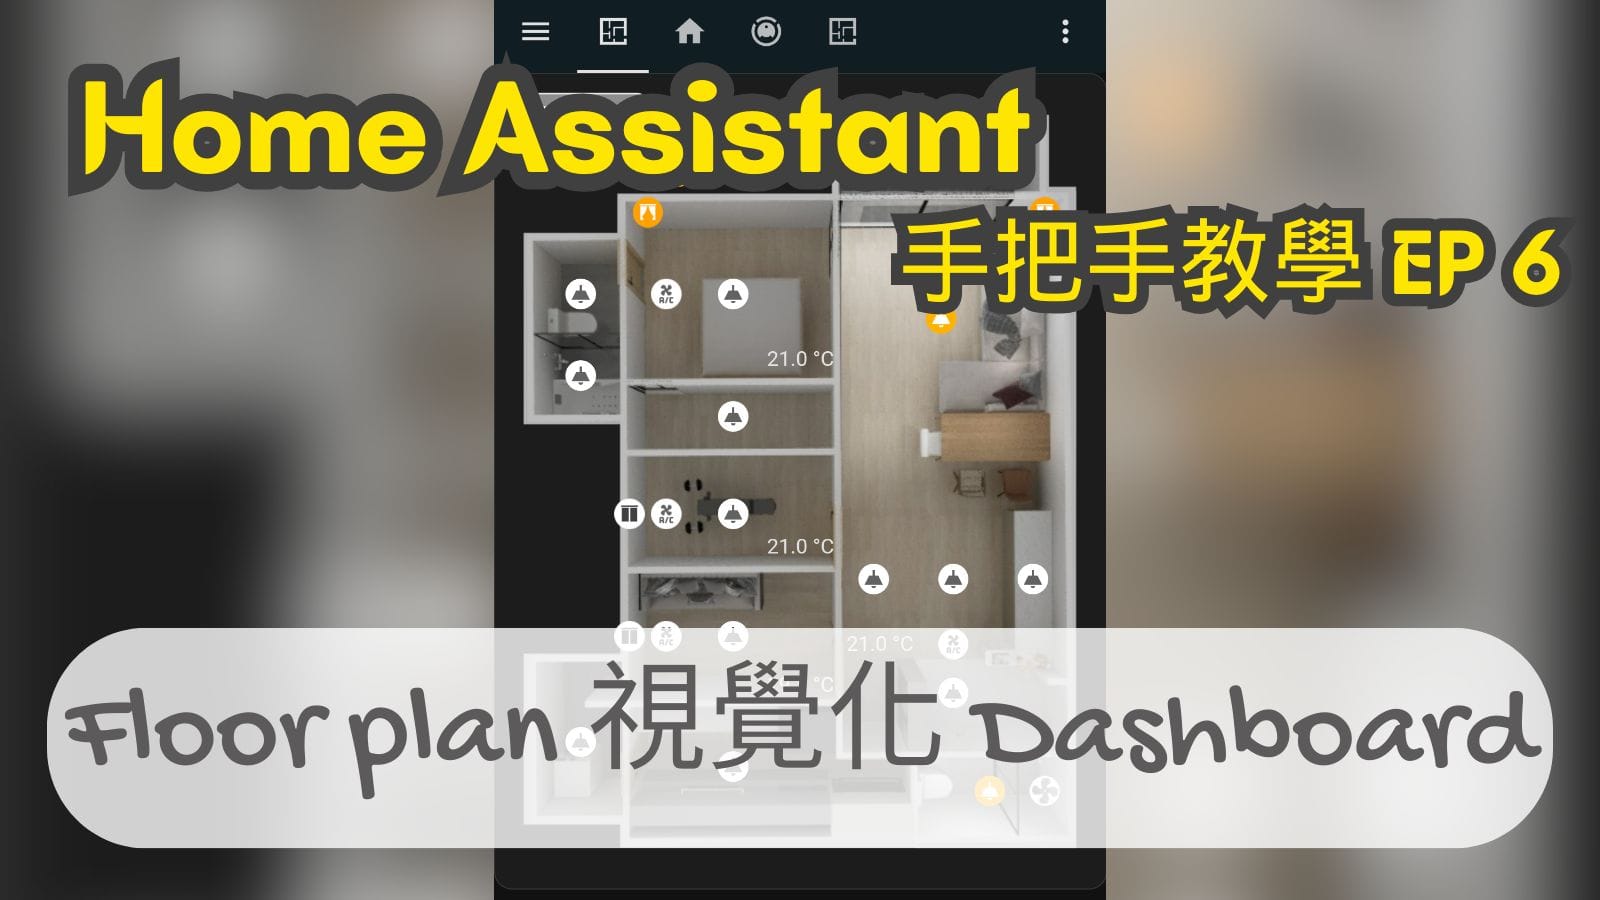
For the simplest Dashboard settings and my favorite floor plan visual control, you can refer to my teaching:

In addition to Home Assistant, what other options are there for smart home central systems?
As mentioned before, in addition to Home Assistant, common cross-brand central systems for smart home hub systems include:
- Apple HomeKit
- Google Home
- Amazon Alexa
There are also single-brand central systems:
- Mijia
- Aqara
- LG ThinQ
- Samsung SmartThings
- …other
Generally speaking, I don’t recommend using a single brand of smart home central system. Unless you plan to only use that brand of smart home devices for your whole life (a very rare option), it is best to choose a cross-brand central system, because today it is Home Assistant I won’t go into too much detail here. If you want to see a comparison of different smart home central systems, please refer to:
How to set up Home Assistant?
Different from ordinary cloud central systems, to build Home Assistant, you will need to install a hardware host at home, and there can be different "hardware x system installation method" configuration combinations according to different situations.
Home Assistant hardware selection
The choice of hardware directly affects the ease of installation. Here I refer to the official recommendations of Home Assistant and the information I personally collected to rank the overall ease of installation:
The most brainless
Home Assistant Green
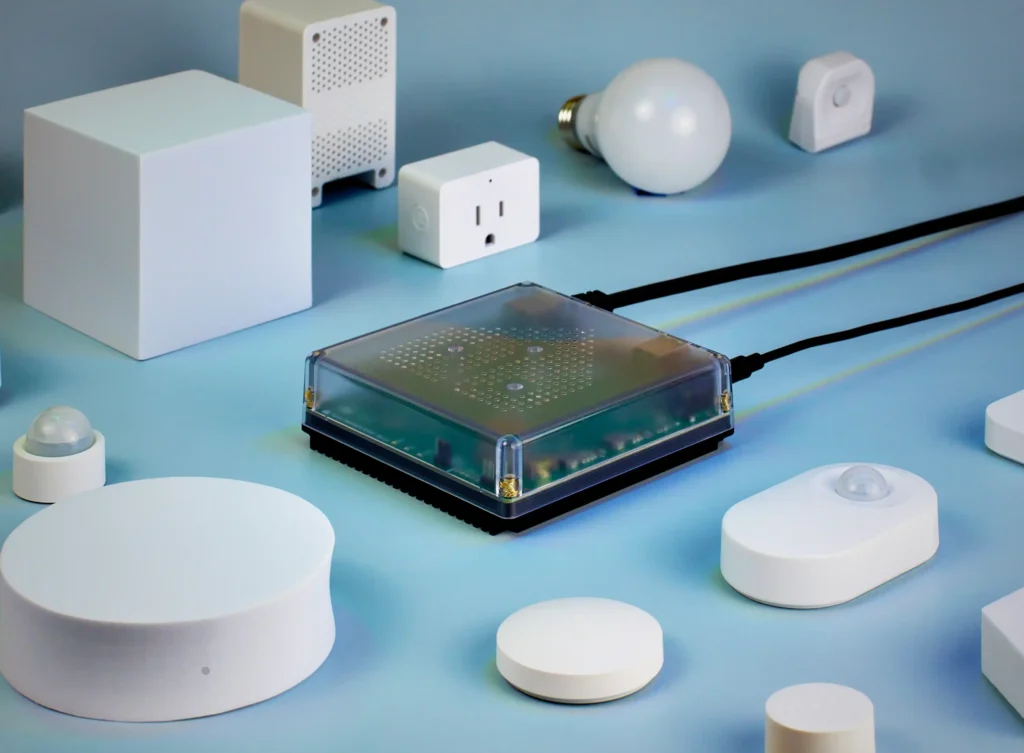
Home Assistant Green It is a new product officially launched in 2023. It is targeted at users who do not want to be kidnapped by a single brand, are not satisfied with the functional limitations of Apple HomeKit or Google Home, and have little IT (Information technology) technical ability. Basically, you only need to prepare the network environment at home, plug in the power supply and network cable, and you can directly use the preloaded Home Assistant system.
price
The official channels are mainly in Europe and the United States. Of course, it can be shipped internationally. You can also find sellers on Taobao. The starting price is about NTD$3,000.
advantage
Home Assistant Green can be called the laziest way to get started, plug and play, and you don’t have to worry about how to install the Home Assistant system. If you have no experience in setting up a computer or installing a system, then Home Assistant Green is the best choice for you. choose.
shortcoming
Of course, such a lazy approach also comes at a price, that is, Home Assistant Green itself is packaged hardware, and under normal circumstances it cannot carry out effective hardware expansion (storage capacity, memory, etc.), but for It is very sufficient for general smart home usage scenarios, unless you have a lot of data streaming and storage needs (camera).
Procurement channel:Home Assistant official website
Simple
Raspberry Pi
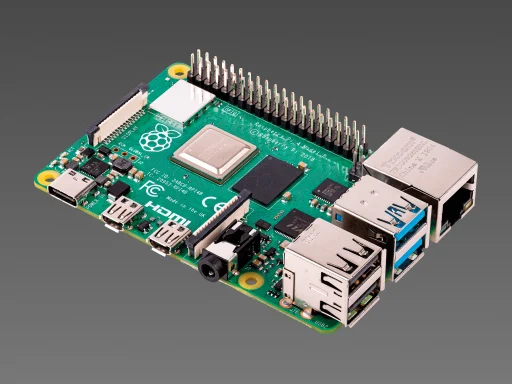
Raspberry Pi YesRaspberry Pi Foundation UK The developed micro single-board computer. The so-called single-board computer is a computer that integrates all the necessary components of the computer (processor CPU, memory RAM, ports, etc.) on a single circuit board. It is similar to a common desktop computer on the motherboard. The graphics card and memory that can be plugged in vary.
Because of its small size and low power consumption, the Raspberry Pi is particularly suitable for running operating systems (Operation Systems, OS) such as Home Assistant that do not require high hardware requirements, and the Raspberry Pi is also In addition to Home Assistant Green and Home Assistant Yellow, the two in-house hardware, it is the first official Home Assistant installation solution.
price
Depending on the purchasing region, channel, version, and combination, the overall purchase price is approximately NTD$3,000~5,000.
advantage
Low power consumption, low power consumption, and low purchase price. If you have idle equipment at home (eg memory card), you can further save costs.
shortcoming
- Limited expandability:External devices can only be connected via USB, and the expandability is limited compared to NUC and Home Assistant Yellow.
- You need to install the Home Assistant system yourself:Compared with Home Assistant Green, to use Raspberry Pi to build Home Assistant, you need to install the Home Assistant operating system by yourself, which is a little bit of a test on your hands-on ability, but it is only "slightly", as long as you can follow the instructions step by step. Done! If you are not sure, you can take a look at my teaching first:

It’s starting to be a little difficult
Home Assistant Yellow
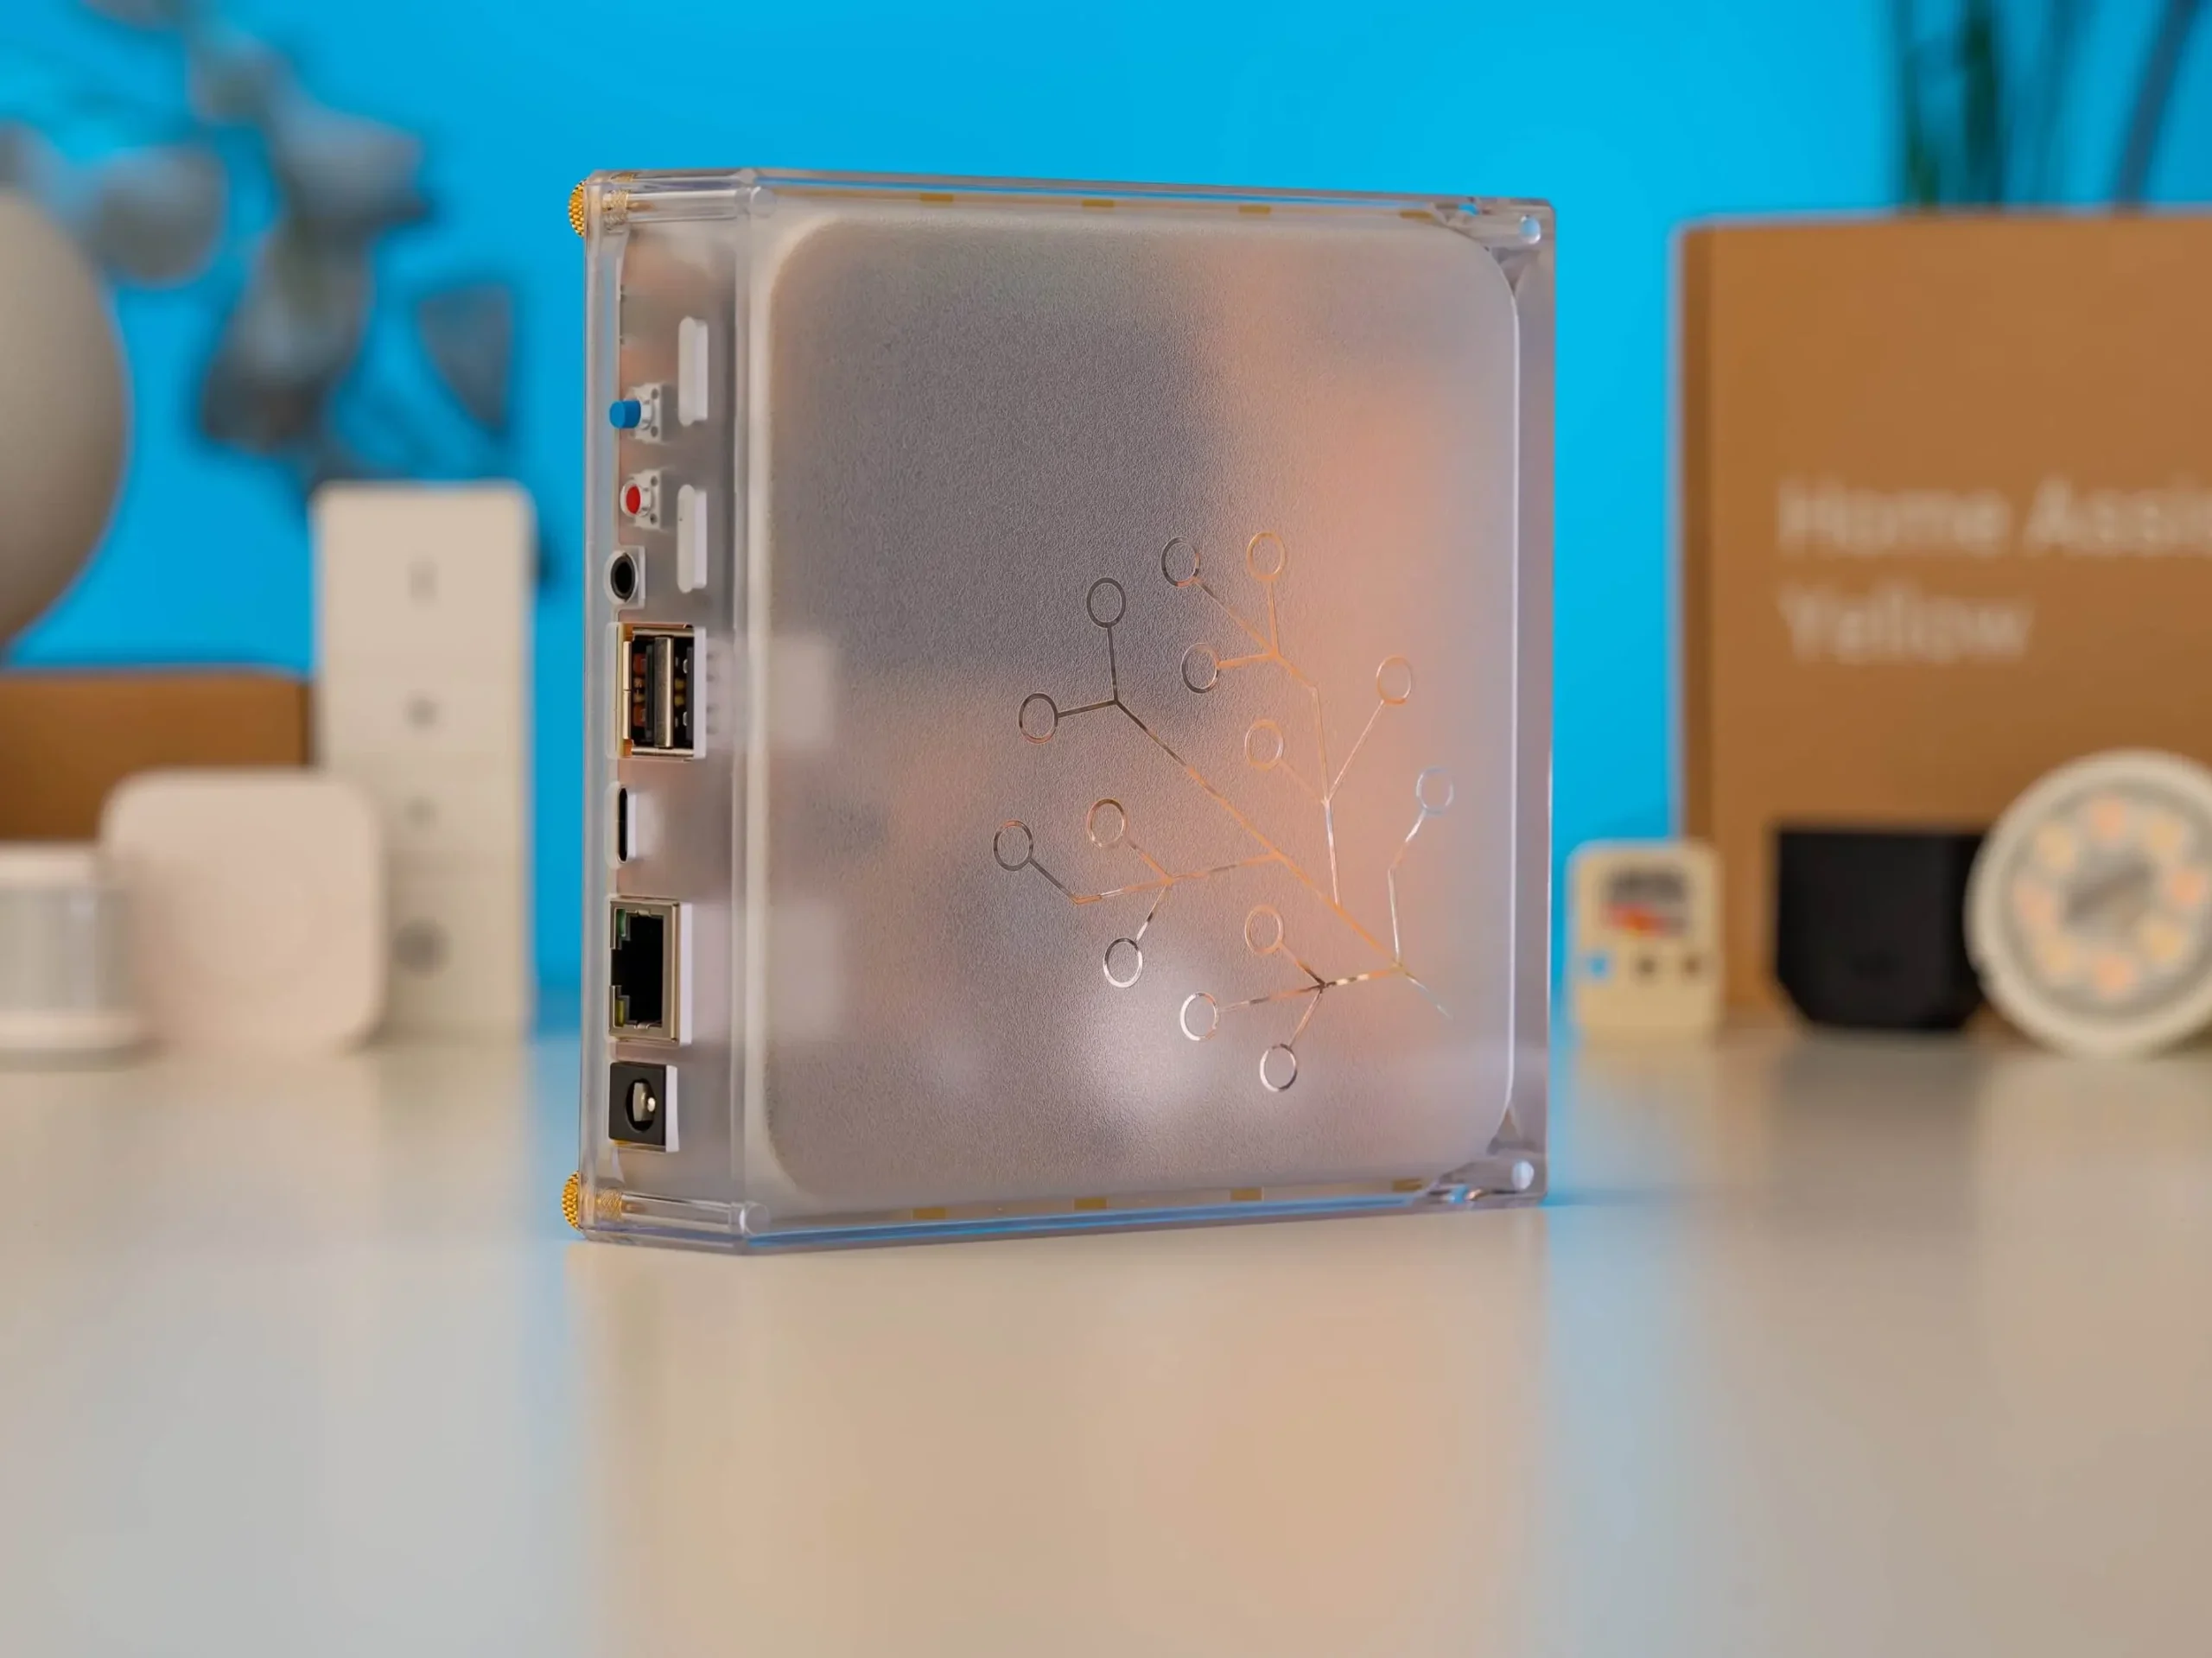
Home Assistant Yellow is an official product launched in 2021. It is a hardware device specially designed for the Home Assistant system.
price
Depending on the combination, the price is approximately NTD$ 3,000~6,000.
advantage
- Built-in Zigbee and Thread wireless modules:The built-in Silicon Labs EFR32 wireless module supports Zigbee, Thread, and Matter connections and is suitable for almost all smart home devices.
- M.2 expansion slot:NVMe SSD can be installed to increase storage space.
shortcoming
You need to install CM4/CM5 by yourself, which slightly tests your computer assembly skills, but you only need to install CM4/CM5 according to the slot.Official descriptionStep by step operation, in principle there is no difficulty.
🚨 Special attention
While writing this article, Raspberry Pi announced the Compute Module 5 (CM5),Home Assistant also announced on 2024/11/27 that Yellow supports CM5.
Home Assistant Yellow requires a Raspberry Pi CM4/CM5 (Raspberry Pi Compute Module 4/5) to be installed on the machine board before it can be used. Currently, the official purchase option does not have a preset CM4/CM5 combination. If you want to use Yellow Remember to prepare CM4/CM5 yourself.
In addition, special attention should be paid to the fact that CM4/5 is not Raspberry Pi 4/5. Please specify "Raspberry Pi Compute Module 4/5" when purchasing!
Suitable for advanced players
Intel NUC
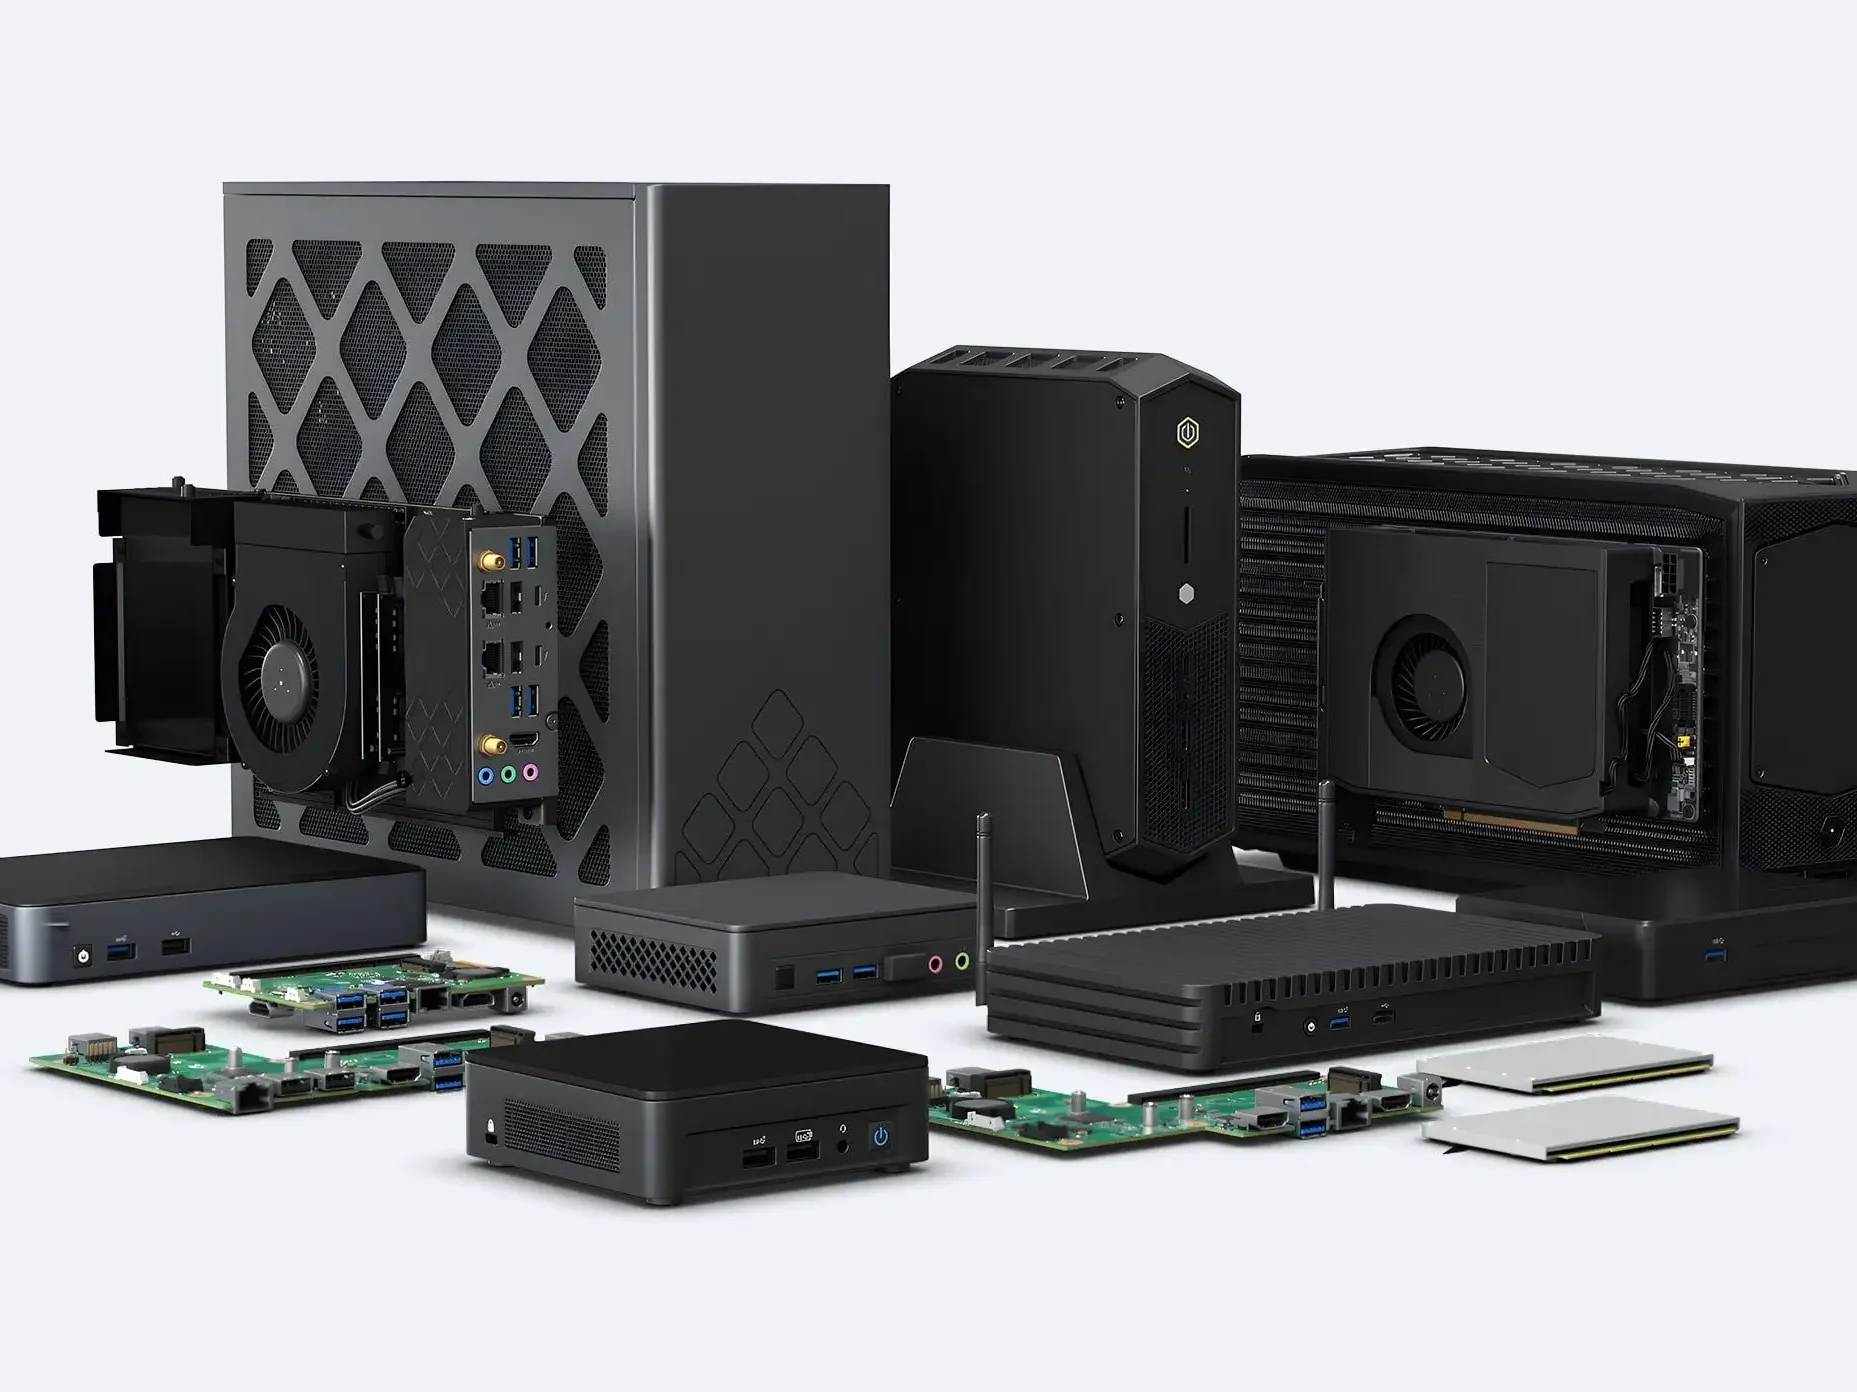
NUC (Next Unit of Computing), also known as "barebone system", is a small, high-performance mini computer. It is the choice of many advanced players to build Home Assistant.
price
NUC is like a general home computer. There is a huge price gap depending on the equipment level. If you only consider Home Assistant use, NTD$3,000~5,000 should be enough; if you have other complex needs, it can cost over NT$10,000 or even more than NTD30,000. .
advantage
- Compact size:Although the NUC cannot be called "small" compared to the Home Assistant Yellow/Green or the Raspberry Pi, the NUC itself is not Home Assistant-specific hardware, so this comparison is a bit unfair. In terms of its positioning as a "multifunctional computer", the NUC is indeed very compact compared to ordinary home computers (PCs), and it is no problem to hide it in an electrical cabinet together with ordinary home routers.
- Flexible configuration and high scalability:The hardware specifications can be configured completely according to your needs, from word processing to AAA games.
shortcoming
Using NUC to build Home Assistant involves virtual machine settings or Docker settings, which are relatively advanced operations and are not suitable for ordinary IT novices. They require certain technical abilities and determination.
Suitable for advanced players
NAS
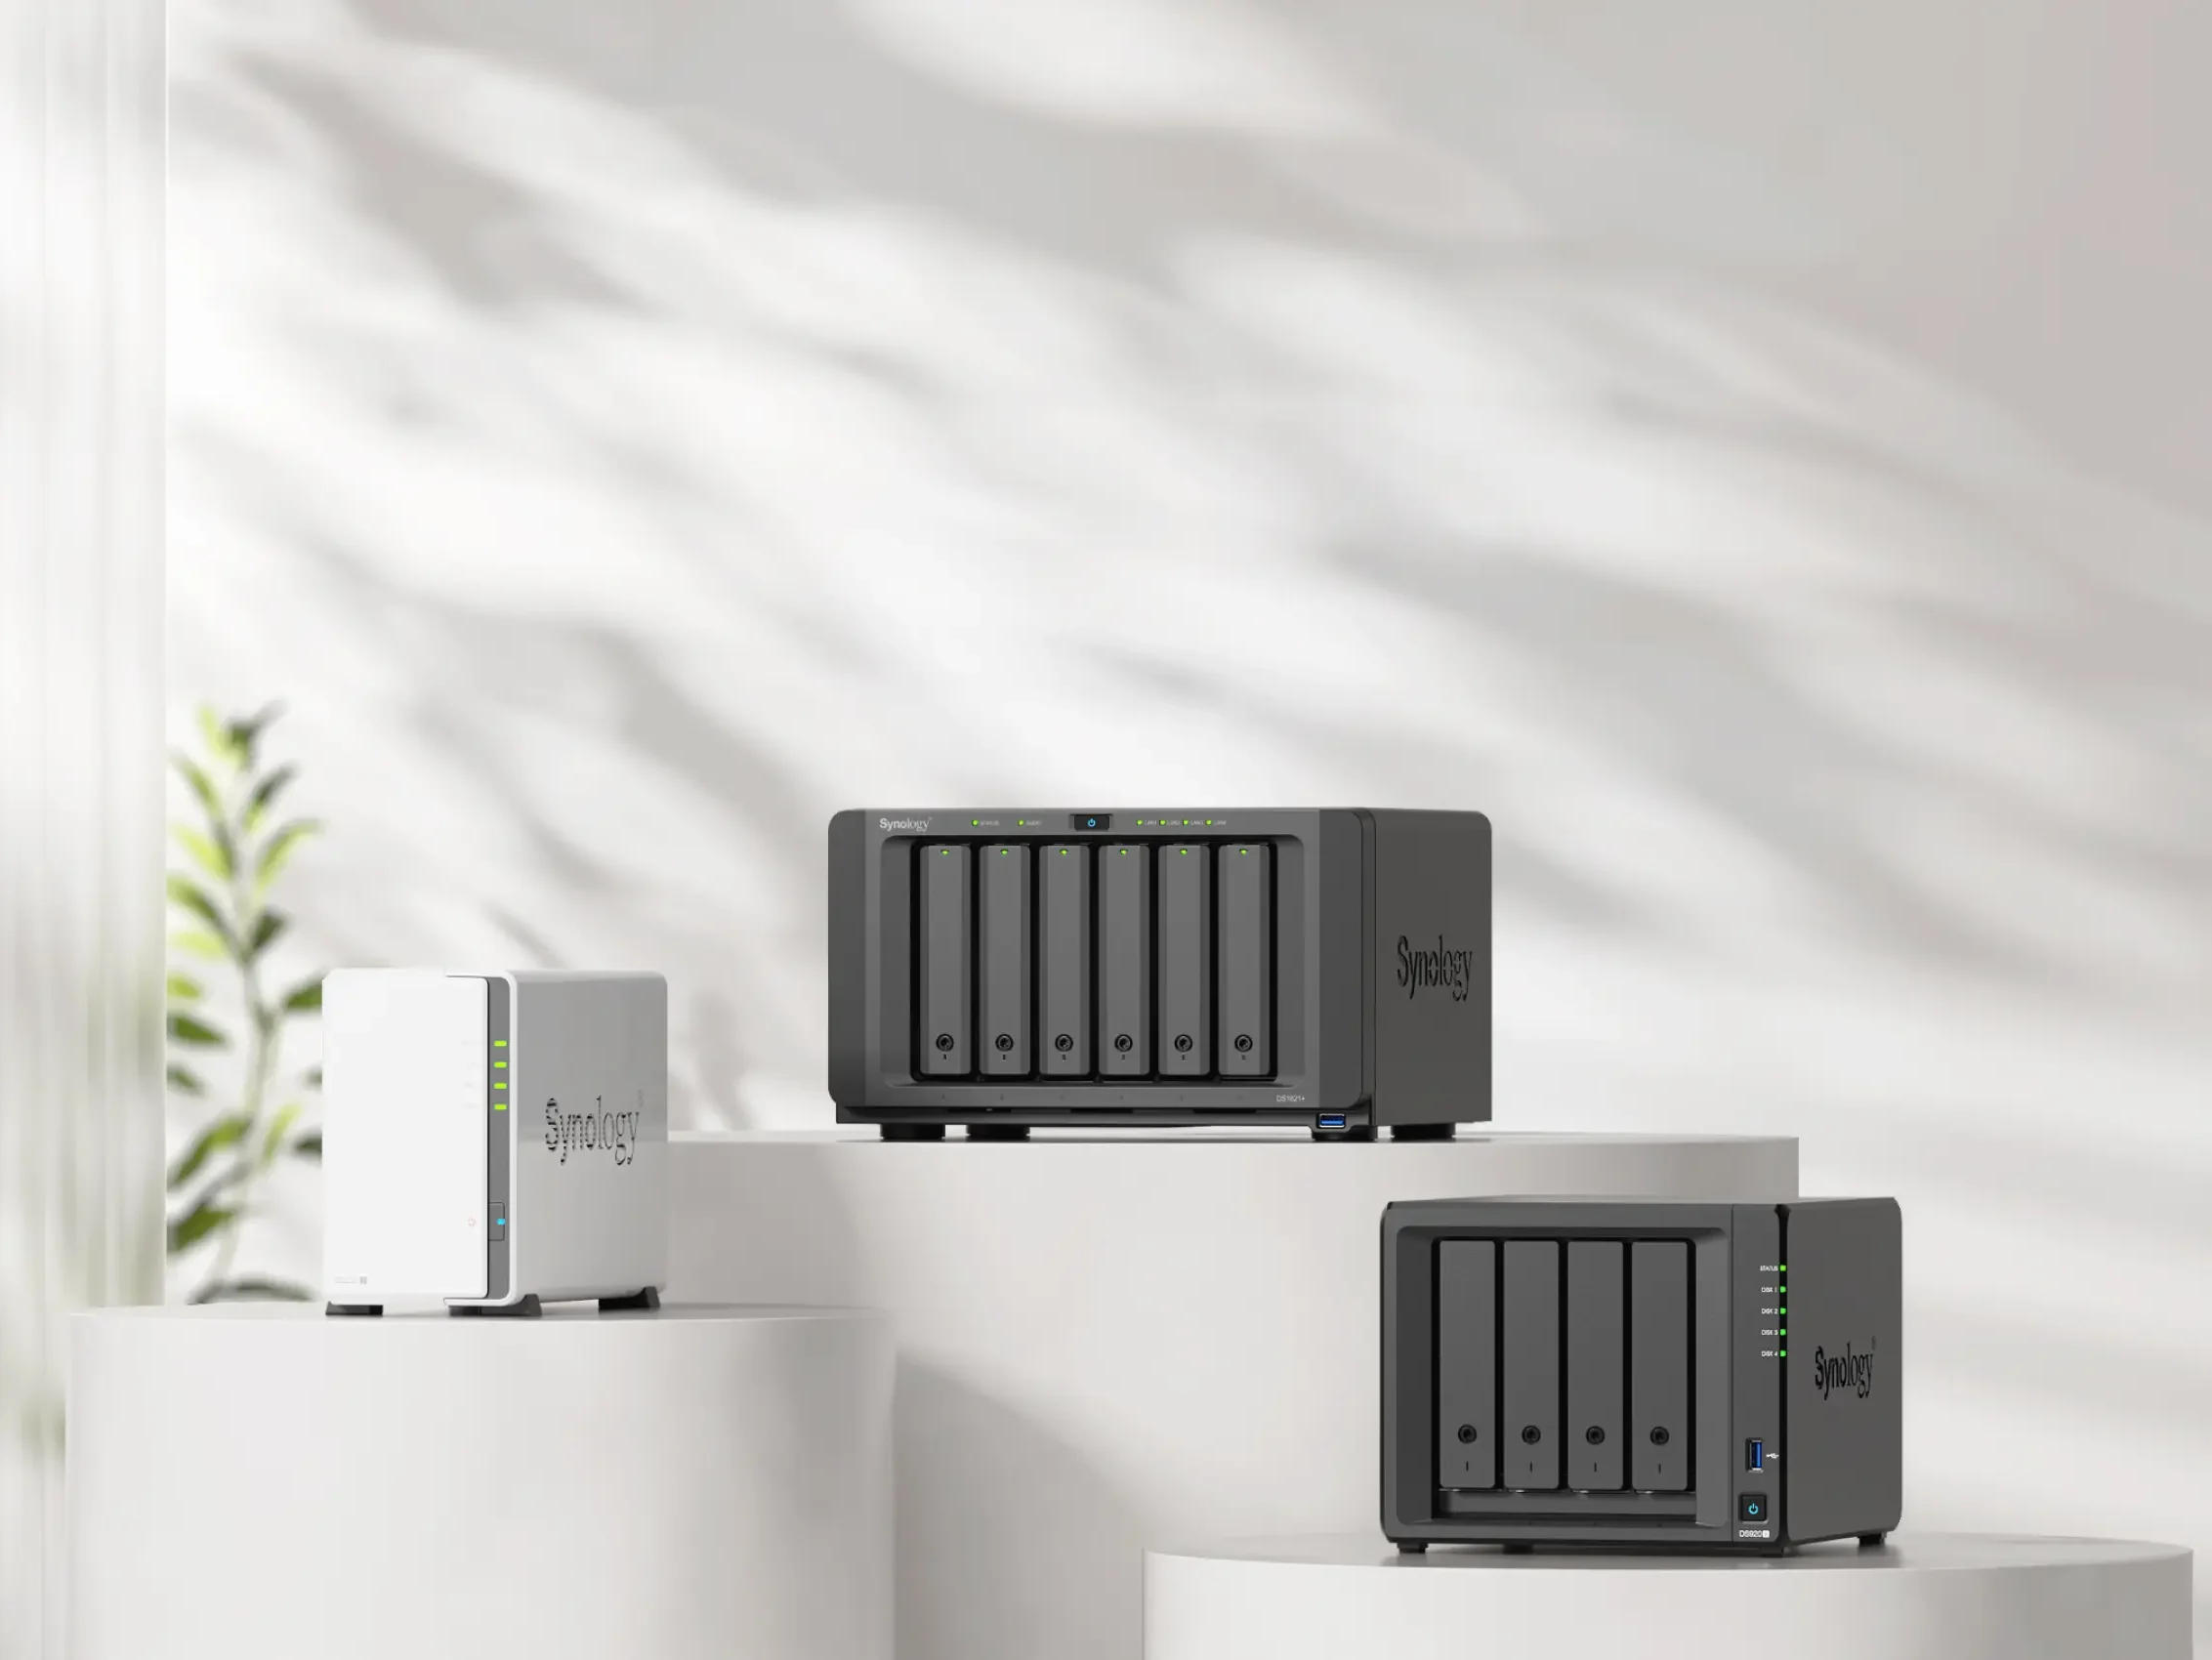
NAS (Network Attached Storage) is mostly a device used for multi-user file sharing. Simply put, it is like a Google Drive, but this hard drive is physically placed at home. In recent years, Due to the rise of new media in 2016, many new media studios also use NAS for video and photo sharing and backup.
price
Prices range from NTD$ to 5,000 to 30,000, and there are also higher specifications. Usually people choose NAS only when they have storage needs. You make your choice based on your personal storage needs.
advantage
If we take Home Assistant as the starting point, there are not many advantages to choosing NAS over other hardware. The only advantage is probably that if you already have NAS storage needs at home, you can incorporate HA to save equipment purchase costs.
shortcoming
- Limited performance:Because NAS is a hardware device based on storage, usually there are limited choices in hardware specifications such as processors, memories, etc. Of course, you can still spend money to get great specifications, but this is a bit far away from the starting point of NAS, which is based on storage needs. , and if the same expenditure is spent on purchasing NUC, you will usually get more cost-effective hardware specifications.
- Slow booting and startup:This may be a flaw in using NAS as a Home Assistant host. When setting up a NAS based on storage requirements and considering cost-effectiveness, HDD (Hard Disk Drive, mechanical hard disk) is usually used. However, this also makes the startup speed of Home Assistant deployed on the NAS limited. Limited, I have seen netizens share that the startup time of Home Assistant on NAS needs to be calculated in hours. Of course, some NAS models also support SSD (Solid-State Disk, solid-state drive), but this will increase the overall installation cost. few.
other
Various single board computers
You can also see many "HA boxes" on Shopee and Taobao. Most of them use old specifications of TV top boxes or other single-board computers to install Home Assistant. When purchasing such equipment, special consideration must be given to whether the long-term maintenance needs can be met. Although Most sellers are very conscientious and will provide technical support in the near future, but it is difficult to guarantee whether they can continue to provide services in a few years. In addition, it is also necessary to pay attention to which method is used to install Home Assistant, which is related to the ability of Home Assistant to be installed. Home Assistant cannot be updated via OTA, and the add-on store cannot be used.
In addition, if you have an idle TV box host or other single-board computer (eg Orange Pi), you can also use it to install Home Assistant, but this requires you to have relatively strong hands-on skills.
other
idle computer
If you have an idle computer at home, whether it is a desktop computer or a laptop, there are also ways to install Home Assistant. However, special attention should be paid to the fact that Home Assistant, as a smart home central system, needs to be turned on 24/7. In order for the various linkages of the smart home to operate normally, you need to pay attention to whether the computer you choose is suitable for maintaining the power-on state for a long time.
Home Assistant installation method selection
There are 4 ways to install Home Assistant:
- Home Assistant Operation System (HA OS): The most recommended installation method, you can enjoy the most complete Home Assistant system functions.
- Home Assistant Container: Use a container (Container) to install Home Assistant, usually through Docker.
- Home Assistant Core: Used to install in a Python virtual environment.
- Home Assistant Supervised: Install Supervisor manually.
The choice of installation method is usually related to the hardware used, and Home Assistant can also be installed in different ways on the same hardware. It is generally recommended to use Home Assistant Operation System (HA OS) for installation. Other installation methods are more convenient than HA OS. If you need more advanced IT capabilities, choose carefully!
Refer to the comparison table below to choose the installation method that suits you!
HAOS | Container | Core | Supervised | |
優點 | – Full Home Assistant functionality | – Can be run as a Docker container on existing systems | – Can be run in an existing Python environment | – Keep the original operating system while having complete HA functions |
缺點 | – 系統獨佔整個裝置,無法同時運行其他服務 | – Unable to use Home Assistant full functionality | – Unable to use Home Assistant full functionality | – 安裝與維護較複雜 |
Automations | ✔ | ✔ | ✔ | ✔ |
Dashboard | ✔ | ✔ | ✔ | ✔ |
Integrations | ✔ | ✔ | ✔ | ✔ |
Add-ons | ✔ | ❌ | ❌ | ✔ |
Blueprints | ✔ | ✔ | ✔ | ✔ |
One-Click updates | ✔ | ❌ | ❌ | ⚠️1 |
Backups | ✔ | ⚠️2 | ⚠️2 | ✔ |
⚠️1 With Home Assistant Supervised, there will be HA Core updates, but there will be no OS updates (because this installation method does not use HA OS)
⚠️2 Container and Core can create backups, but they need to be manually processed when restoring.
⚠️2 Containers and Cores can be used to migrate to HA OS
What brands of home appliances and devices does Home Assistant support?
Home Assistant supports all smart home connection methods: Wi-Fi, Zigbee, Bluetooth, Thread, Matter, and zWave, and can integrate almost all smart home devices on the market.
Apart from Brand integration supported natively by Home AssistantIn addition, there are also HACS (Home Assistant Community Store) Unofficial integration plug-ins provided by various experts. Basically, as long as you can buy a smart home device, you can find a way to connect to Home Assistant. You can also use "Home Assistant + brand name + product model" to search before purchasing. Check the engine to see everyone’s experience.
FAQ
I already have some smart home devices, how do I connect these devices to Home Assistant?
If your smart home device is connected through Zigbee, congratulations, you can easily access Home Assistant through Zigbee2MQTT, which can even help you get rid of the original brand APP.
If it is not Zigbee2MQTT or you want to keep the connection to the original brand APP, you can also use it Integration features provided by Home AssistantOr the HACS plug-in can transfer these smart home devices to Home Assistant through the brand cloud.
Please refer to this tutorial for how to use Zigbee2MQTT to access Home Assistant and the difference between accessing through brand cloud:

What is a gateway?
The role of the gateway in the entire smart home system is a bit like a messenger and a translator. It is an intermediary communicator between the smart home central system and the device. It receives, summarizes the status of the "device", and forwards instructions from the central system. The "central system" reports the status of each device and receives instructions for each device.
For detailed instructions, please refer to this description:

I see everyone says to pull the neutral wire first. What is the neutral wire?
"Neutral line" is also called "neutral line" and "water line". You may hear different names from different people. It usually plays the role of "providing current circuit" in the light control circuit.
In Taiwan, the neutral wire of the traditional light control circuit only exists between the lamp and the electrical box. However, if the smart home light control solution you choose is to control the light through a switch, the switch needs to be powered at all times, and the switch terminal will A neutral wire is needed.
Full analysis of smart home lighting control solutions:

What are zero fire switch and single fire switch?
The "switch requires a neutral wire" mentioned above is also commonly known as a "zero fire switch". The complete description is: a switch that needs to connect the neutral wire and the live wire.
As the name suggests, the single-fire switch is a switch that only needs to be connected to the live wire.
However, in fact, control lines need to be connected between the "zero flame switch", "single flame switch" and the lamp to allow current to flow to the lamp when needed to light the lamp.
The difference between zero fire switch and single fire switch, as well as the installation method of zero fire switch and the teaching of double cut setting:
What are Zigbee and Matter? What are the connection methods for smart home devices?
Zigbee and Matter are both connection methods for smart home devices in a broad sense. In addition to Zigbee and Matter, the connection methods for smart home devices include: WiFi, Bluetooth, zWave, and Thread.
Technically, Matter is an application layer communication protocol that runs on existing network protocols (eg WiFi, Thread). The purpose is to unify the communication standards of different brands and types of smart home devices and improve the interoperability of smart home devices. Except for Matter, most other connection methods start from the network layer and cross to the application layer.
If you are interested in the too technical part, please check the information yourself! The most critical thing in the process of building a smart home is the compatibility of the selected device and the central system, which requires special attention, and the connection method is the most important.
I'm having trouble setting up Home Assistant, how can I get help?
1. The most direct way is to translateofficial documents, Home Assistant’s official documentation is a rare technical document written in a very formal way. Don’t be afraid, read it slowly with a translation tool and you will definitely understand it.
2. turn overOfficial forum, which collects the pitfalls that everyone has stepped on and the experience sharing of various masters.
3. arrive SpaceN Leave a message below the corresponding article and the webmaster will respond personally (it’s not too much to flatter yourself at this time🤣).
3. Search for communities with related keywords such as "smart home", "smart life", etc., join and politely ask your seniors for advice, everyone will be happy to share their experiences. If you are in Taiwan, you can find Line communities or Facebook communities. If you are in Europe and the United States, in addition to Facebook groups, you can check out Reddit.



Hi Neil,
Your article is very helpful. Thank you for your detailed introduction and explanation.
I have a question for you. I am planning to renovate my house. I don't know how to choose a smart switch.
1. For smart switches, do you recommend Zigbee or Matter?
2. In addition to brands that are available in Taiwan, such as VIZO, are there any affordable options on Taobao?
Hi Loïc,
At present, I still recommend Zigbee. I haven't done much research on switches from Taobao. If you want something cheaper, you can consider Aqara.
Hi Neil: After reading your article, I still have only a vague understanding^^
At the moment, I only have Xiaomi devices in my old home that are connected via the APP. I won’t be able to move into my new home for another half a year, but I’m a mobile owner and want to buy a console to try it out first.
If I buy the Home Assistant Green host first, can I connect to Xiaomi devices via Wifi in my old home without going through the Xiaomi gateway?
After you have laid out the neutral wires for the light switches in your new home, you can then purchase a Zigbee2MQTT gateway, which will basically free you up to do everything that the tutorial article can do?
Hi Jerry,
If the old Xiaomi device is connected to wifi, it still needs a gateway, but you can first use Xiao Home or other plug-ins to connect the device to HA
For new devices in a new home, it is recommended to choose Zigbee or Matter as much as possible.
Thank you Neil for your help. I will go buy the console first. If I have any questions after implementing it, I will ask you for help^^
Hi Neil~
I would like to ask you for advice. Whether you are using Home Assistant Green or Raspberry Pi, you can refer to the construction method of your Floor plan, right?
In addition, I see that the Ram of Home Assistant Green is 4G and the storage space is 32G. I am not sure whether it is enough. I would like to ask what the Ram and storage space of the Raspberry Pi you are currently using are?
Hi L,
I have a Raspberry Pi 4 Model B, 8G ram, and a 32GB memory card. Whether it is enough will depend on the device you deploy. If you have a camera that needs to be streamed, it is recommended to have a higher configuration. You can also consider Home Assistant Yellow, which can be more customized. change
As long as you use Homa Assistant, you can make a Floor plan. It's no problem to install HA on Raspberry Pi, Green, Yellow or various virtual machines.
I would like to ask if I have watched your videos
Have you bought zemismart curtains from Taobao and installed the motors from Taobao so far? How do you think? Did you encounter any problems?
Also, will you consider replacing thread products in the future?
Hi Xiaobai,
There are no problems with it so far. Remember to avoid using the rechargeable model. If there is really no outlet to use, at least choose the solar model.
Thread products are not considered at the moment. I use Zigbee, WiFi, and Matter at home.
Is it because charging is troublesome to avoid using rechargeable models? Or is it because the speed is slower?
But if I use an electric one, I’m a little worried that if the motor breaks down or there’s a power outage, I won’t be able to open the whole window... So I’m still hesitating about which one to use.
Currently I am considering buying MATTER OVER THREAD curtain motors from Taobao so that I can save the need to buy the ZIGBEE gateway.
Hi Xiaobai,
The speed is almost the same. The key to the biggest impact on speed is the form of the motor and not the source of electricity.
Charging is really troublesome, especially when you find out there is no battery when you are about to use it, you really want to curse. 🤣
Worried about a power outage~ If there is a power outage, there should be more things to worry about. The inability to open and close the curtains should not be too serious.
Matter is great and no problem, but if you use a lot of Matter devices at home, remember to pay special attention to the specifications of the WiFi router. It needs to be able to carry a larger number of connections.
I didn’t expect there would be a new version of the 2025 pit guide XD
But Samsung SmartThings shouldn’t be regarded as a single brand hub?
His app can already be connected to many other brands of smart home devices.
There is even a matter that allows painless access.
Hi Kyle,
Thank you, I will do some research and update~